How to Add SeatGeek Tickets to Apple Wallet
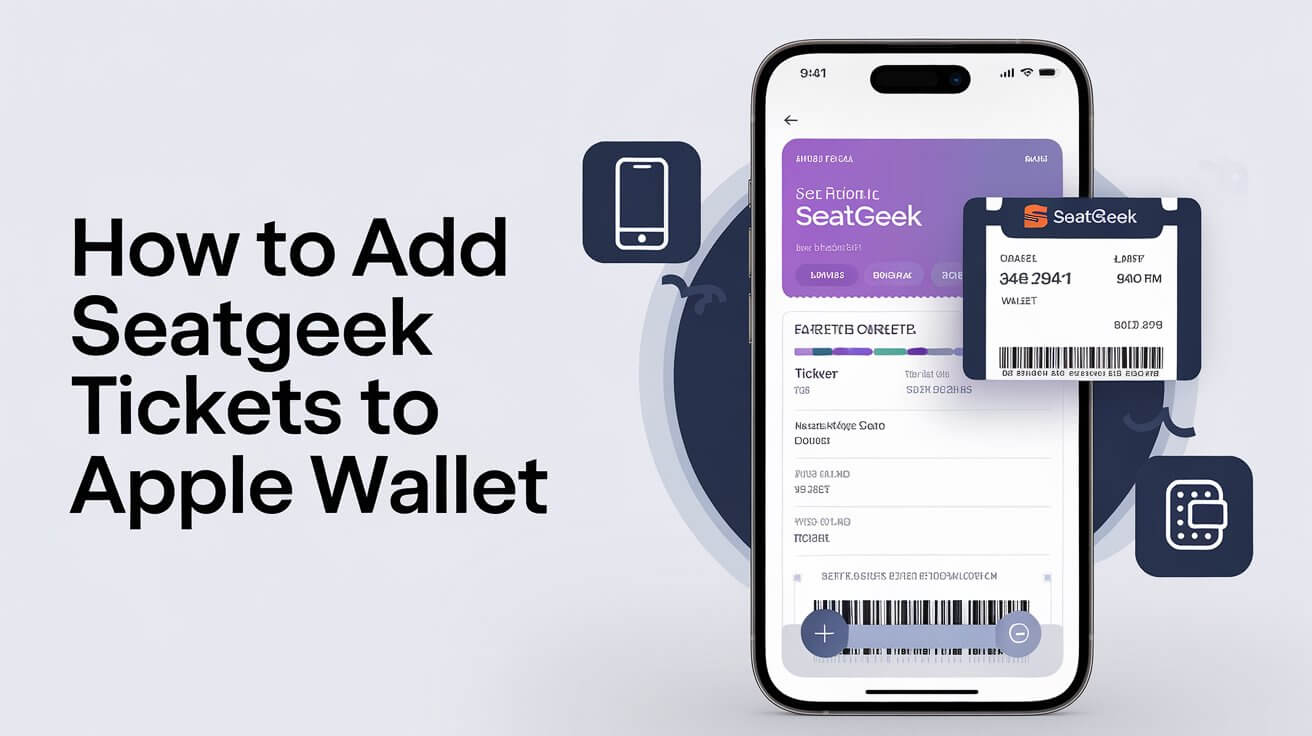
Adding SeatGeek tickets to your Apple Wallet can make attending events smoother and more convenient. This guide provides a step-by-step process, useful tips, and answers to common questions to help you seamlessly add your SeatGeek tickets to your Apple Wallet.
Introduction to Adding SeatGeek Tickets to Apple Wallet
Managing event tickets can be stressful, especially if you have multiple events lined up. SeatGeek offers a streamlined solution by allowing you to store your tickets in Apple Wallet. This digital ticket storage simplifies access and reduces the hassle of keeping track of physical tickets or searching through emails.
Benefits of Using Apple Wallet for Event Tickets
- Convenience: Store all your event tickets in one place.
- Quick Access: Use your iPhone or Apple Watch to access tickets quickly.
- Secure Storage: Apple Wallet securely stores your tickets and personal information.
- Paperless: Reduce the need for physical tickets and contribute to environmental sustainability.
Prerequisites for Adding SeatGeek Tickets to Apple Wallet
Before you add your SeatGeek tickets to Apple Wallet, make sure you meet the following prerequisites.
Compatible Devices and iOS Versions
To add tickets to Apple Wallet, you need a compatible iPhone or Apple Watch running the latest iOS.
- iPhone: iPhone 6 or later
- Apple Watch: Series 1 or later
- iOS Version: iOS 12 or later (preferably the latest version for the best experience)
Ensure your device’s software is up-to-date by going to Settings > General > Software Update.
Ensure Apple Wallet is Enabled
Check if Apple Wallet is enabled on your device. Here’s how:
- Open Settings on your iPhone.
- Scroll down and tap Wallet & Apple Pay.
- Ensure Apple Wallet is enabled.
- If not, toggle the switch to enable it.
Apple Wallet comes pre-installed on iPhones, but ensuring it’s activated and updated guarantees smooth ticket integration.
Steps to Add SeatGeek Tickets to Apple Wallet
Adding SeatGeek tickets to Apple Wallet can be done via the SeatGeek app or the email confirmation received after purchasing tickets.
Purchasing Tickets on SeatGeek
Using the SeatGeek App
- Open the SeatGeek app on your iPhone.
- Search for the event you want to attend.
- Select your tickets and proceed to checkout.
- Complete the purchase following the on-screen instructions.
Using the SeatGeek Website
- Visit SeatGeek.com on your web browser.
- Search for the event and choose your tickets.
- Proceed to checkout and complete the purchase.
After purchasing, you’ll receive a confirmation email with your tickets.
Locating Your Tickets in SeatGeek
In the SeatGeek App
- Open the SeatGeek app.
- Tap Tickets at the bottom of the screen.
- Your upcoming events and tickets will be listed here.
From the Confirmation Email
- Open the confirmation email from SeatGeek.
- Look for the ticket download link or attachment.
Adding Tickets to Apple Wallet
From the SeatGeek App
- Open the SeatGeek app.
- Navigate to Tickets and select the event.
- Tap the Add to Apple Wallet button.
- Follow the prompts to add your ticket to Apple Wallet.
From the Confirmation Email
- Open the confirmation email from SeatGeek.
- Find the Add to Apple Wallet button or link.
- Tap the link to open it in Safari.
- Tap Add to Apple Wallet and confirm.
Your ticket should now be in your Apple Wallet, accessible through the Wallet app on your iPhone or Apple Watch.
Troubleshooting Common Issues
If you encounter issues, here are some solutions:
Ticket Not Appearing in Apple Wallet
- Check Your Email: Ensure you have received the confirmation email.
- Refresh the App: Try closing and reopening the SeatGeek app.
- Update iOS: Make sure your iOS is up-to-date.
Apple Wallet Not Showing the Option to Add Tickets
- Update SeatGeek App: Ensure you’re using the latest version of the SeatGeek app.
- Reboot Your Device: Restart your iPhone or Apple Watch.
Missing “Add to Apple Wallet” Button
- Check Event Details: Some events may not support Apple Wallet integration.
- Contact Support: Reach out to SeatGeek customer support for assistance.
Managing SeatGeek Tickets in Apple Wallet
Once your tickets are in Apple Wallet, managing them is straightforward.
Accessing Tickets in Apple Wallet
- Open the Wallet app on your iPhone.
- Scroll through your stored items to find your event ticket.
- Tap the ticket to view details and access QR codes or barcodes for entry.
Using Siri for Quick Access
Activate Siri and say, “Show my tickets for [Event Name].” Siri will open your Apple Wallet and display your ticket.
Sharing Tickets from Apple Wallet
Steps to Share Tickets
- Open the Wallet app.
- Select the ticket you want to share.
- Tap the More button (three dots).
- Choose Share Pass and select your preferred sharing method (e.g., AirDrop, Messages, Mail).
Restrictions and Limitations
- Sharing Limits: Some tickets may have sharing restrictions set by the event organizer.
- Multiple Devices: Shared tickets may not be compatible with all devices.
Using SeatGeek Tickets at the Event
- Open Apple Wallet.
- Select your ticket and show the QR code or barcode at the venue entry.
- Use Face ID/Touch ID for quick access if prompted.
What to Do If Scanning Issues Arise
- Check Lighting: Ensure your screen brightness is high enough for scanning.
- Ask for Help: Seek assistance from event staff if the scanner has difficulty reading your ticket.
Advanced Tips and Troubleshooting
Updating Apple Wallet
How to Ensure Your Apple Wallet App is Up to Date
- Open the App Store.
- Tap your profile icon at the top of the screen.
- Scroll down to Updates.
- Update Apple Wallet if there’s a pending update.
Benefits of Keeping the App Updated
- New Features: Access the latest functionalities and enhancements.
- Security: Protect your information with the latest security updates.
Resolving Compatibility Issues
Troubleshooting Older Devices or iOS Versions
- Update iOS: Ensure your device is running the latest iOS version.
- Check Compatibility: Verify that your device supports Apple Wallet.
Alternatives for Non-Compatible Devices
- Print Tickets: Download and print your tickets from the SeatGeek website.
- Use Another Wallet App: Consider using Google Wallet or similar apps if Apple Wallet isn’t compatible.
Handling Errors and Bugs
Common Error Messages and Fixes
- Ticket Not Added: Ensure you have an internet connection and try again.
- Wallet Full: Delete old or unused passes to make space for new tickets.
Contacting SeatGeek Support
- Visit the SeatGeek Help Center.
- Use the contact form or chat feature for assistance.
Contacting Apple Support
- Visit the Apple Support website.
- Select Wallet & Apple Pay for troubleshooting guidance.
Frequently Asked Questions (FAQs)
Can I Add Multiple Tickets to Apple Wallet?
Yes, you can add multiple tickets for different events or even the same event. Each ticket will appear as a separate pass in your Apple Wallet. To manage them:
- Open the Wallet app.
- Select each ticket individually for access.
What Happens If I Lose My Phone with the Tickets?
If you lose your phone:
- Use Find My iPhone: Lock or erase your device to prevent unauthorized access.
- Reissue Tickets: Contact SeatGeek to reissue your tickets to a new device.
Can I Add SeatGeek Tickets to Another Digital Wallet?
SeatGeek primarily supports Apple Wallet. However, you might be able to add tickets to Google Wallet or similar apps by:
- Download the PDF: From your email or SeatGeek account.
- Upload to Other Wallets: Use compatible apps to upload the PDF ticket.
Additional Tips and Best Practices
Organizing Your Tickets in Apple Wallet
- Label Tickets: Use the notes section in Apple Wallet to label tickets for quick identification.
- Set Reminders: Add event dates to your calendar for reminders.
Using SeatGeek on Multiple Devices
- Sync Accounts: Log into your SeatGeek account on multiple devices to access tickets from any device.
- Enable Two-Factor Authentication: Secure your SeatGeek account with two-factor authentication for added security.
Leveraging SeatGeek Features
- Price Alerts: Set up price alerts on SeatGeek to get notifications about ticket price changes.
- Explore Nearby Events: Use SeatGeek’s app to explore events near you and get personalized recommendations.
Conclusion
Adding SeatGeek tickets to your Apple Wallet enhances your event experience by providing easy, secure access to your tickets. Follow the steps outlined above to seamlessly add, manage, and use your tickets. With Apple Wallet, you’re just a tap away from enjoying your favorite events. Keep your apps updated and take advantage of advanced features for the best experience.
Enjoy your events with the convenience of Apple Wallet and SeatGeek!
