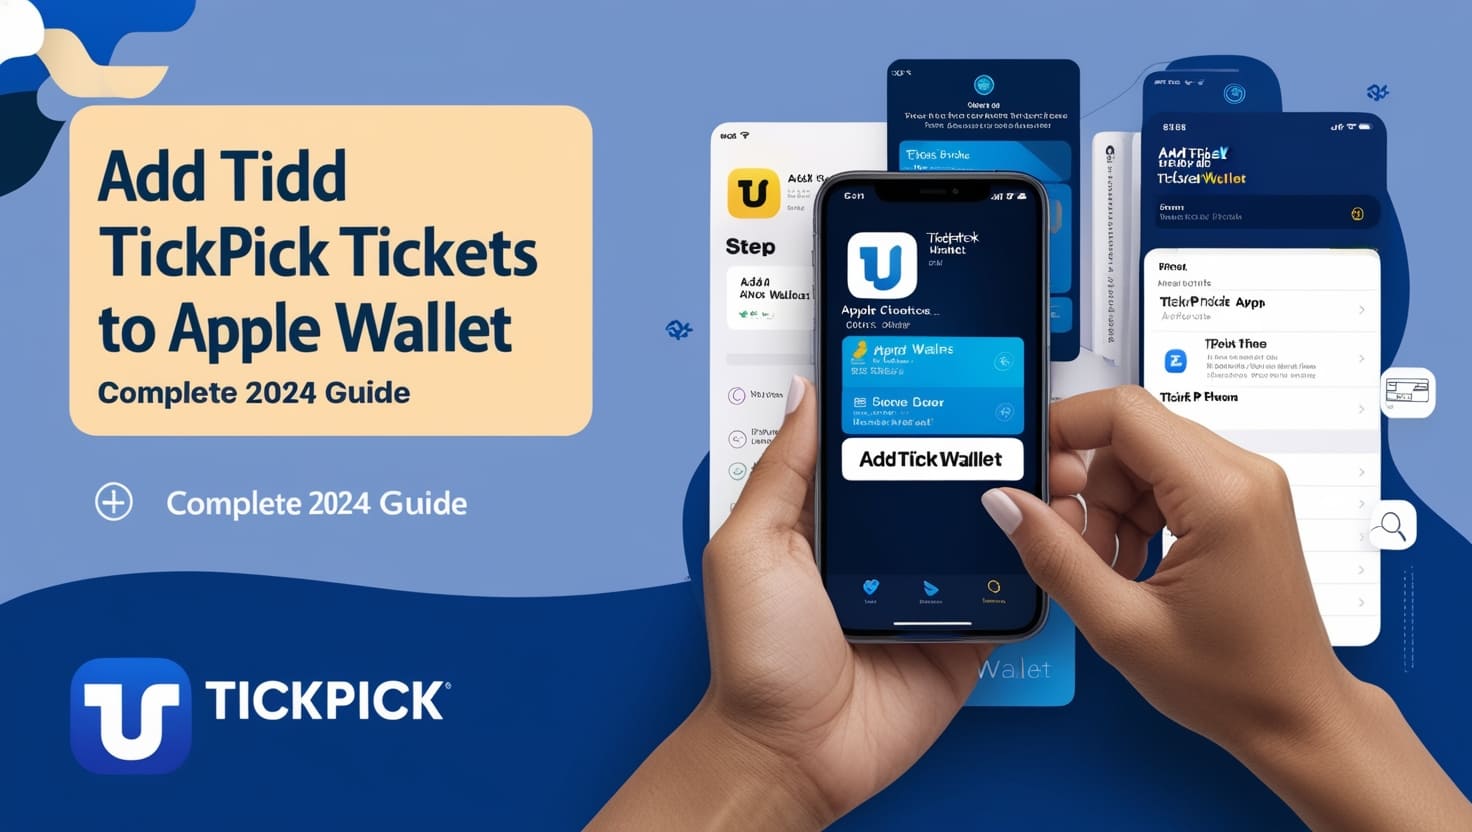
Add TickPick Tickets to Apple Wallet: Complete 2024 Guide
Introduction to Adding TickPick Tickets to Apple Wallet
Adding your TickPick tickets to Apple Wallet simplifies your event experience. Apple Wallet, a digital card storage app, lets you keep and access your tickets right on your iPhone. It saves you from the hassle of searching through emails or printing paper tickets.
TickPick is a popular online marketplace for buying tickets to events. By integrating TickPick tickets with Apple Wallet, you can easily manage and present your tickets at the venue with just a few taps. This guide will walk you through the steps to add TickPick tickets to your Apple Wallet and provide helpful tips for using them.
Preparing Your iPhone for Apple Wallet Integration
Ensure Your iOS is Up-to-Date
Before adding TickPick tickets to Apple Wallet, ensure your iPhone’s iOS is up-to-date. Apple Wallet requires a certain iOS version to function correctly. Follow these steps to update your iOS:
- Open Settings: Tap the Settings icon on your iPhone.
- Go to General: Scroll down and tap “General.”
- Select Software Update: Tap “Software Update.” Your iPhone will check for updates.
- Install Updates: If an update is available, tap “Download and Install.”
Updating your iOS ensures compatibility with the latest Apple Wallet features and security updates.
Setting Up Apple Wallet
Apple Wallet comes pre-installed on most iPhones. If you haven’t set it up, here’s how to get started:
- Open Apple Wallet: Find the Wallet app on your iPhone and open it.
- Add Your First Card: Tap the “+” icon to add your first card or pass.
- Follow Instructions: Follow the on-screen instructions to add payment methods or passes.
Apple Wallet can store tickets, boarding passes, loyalty cards, and payment methods. Setting it up is straightforward, ensuring you can add and access your TickPick tickets without any issues.
Configuring Wallet & Apple Pay Settings
Proper configuration of Wallet & Apple Pay settings enhances your experience:
- Open Settings: Go to the Settings app on your iPhone.
- Tap Wallet & Apple Pay: Scroll down and select “Wallet & Apple Pay.”
- Add Payment Methods: Add any payment methods you use for convenience.
- Enable Passes: Ensure passes are enabled to receive and store tickets.
These settings ensure your Apple Wallet is ready to store and use TickPick tickets efficiently.
Adding TickPick Tickets to Apple Wallet
Step-by-Step Guide
Adding TickPick tickets to Apple Wallet involves a few simple steps. Follow this guide to get your tickets into your Apple Wallet quickly.
1. Purchasing Tickets on TickPick
Start by buying your tickets through the TickPick app or website:
- Log In or Sign Up: Open the TickPick app or visit the TickPick website. Log in or create a new account if you don’t have one.
- Browse Events: Use the search function to find your desired event.
- Select Tickets: Choose the number of tickets and seating options. Add them to your cart.
- Complete Purchase: Proceed to checkout and complete your purchase.
2. Accessing Tickets on TickPick
Once you’ve bought your tickets, you need to access them for downloading:
- Open TickPick App or Website: Log in to your TickPick account.
- Navigate to My Tickets: Go to the “My Tickets” section.
- Select Event: Choose the event for which you have purchased tickets.
3. Adding Tickets to Apple Wallet
You can add your tickets to Apple Wallet using different methods:
- Direct Download from TickPick App:
- Open your ticket in the TickPick app.
- Look for the “Add to Apple Wallet” button and tap it.
- Follow the prompts to add the ticket to your Apple Wallet.
- Using the Email Link:
- After purchasing, you’ll receive a confirmation email with your tickets.
- Open the email on your iPhone.
- Tap the “Add to Apple Wallet” link in the email.
- Follow the instructions to add the ticket to your Apple Wallet.
- Manually Adding Tickets from a File or URL:
- If you have a ticket file or URL, open it on your iPhone.
- Tap the share button and select “Add to Apple Wallet.”
- Follow the prompts to save the ticket.
Adding tickets via these methods ensures they’re securely stored in your Apple Wallet and easily accessible for your event.
Troubleshooting Common Issues
Sometimes, issues may arise when adding tickets to Apple Wallet. Here’s how to resolve them:
Ticket Not Showing in Apple Wallet
If your ticket isn’t appearing in Apple Wallet:
- Re-download the Ticket: Go back to the TickPick app or email and try downloading the ticket again.
- Restart Your iPhone: A quick restart can resolve minor glitches.
- Check Compatibility: Ensure your iPhone and iOS version are compatible with Apple Wallet.
Compatibility Issues
Older devices or outdated iOS versions might face compatibility issues:
- Update iOS: Ensure your iPhone is running the latest iOS.
- Use a Supported Device: Apple Wallet works best on newer iPhones. Consider upgrading if your device is too old.
Using TickPick Tickets in Apple Wallet
How to Access Tickets in Apple Wallet
Finding and accessing your tickets in Apple Wallet is simple:
- Open Apple Wallet: Tap the Wallet app on your iPhone.
- Locate Tickets: Scroll through your passes and tickets to find the one for your event.
- Tap to View: Tap the ticket to view its details, including event time and location.
Having your tickets in Apple Wallet ensures they’re always accessible without searching through emails or apps.
Presenting Tickets at the Venue
When you arrive at the event, presenting your ticket is easy:
- Open Apple Wallet: Tap the Wallet app.
- Select Ticket: Choose the ticket for the event.
- Show QR Code: Present the QR code on your ticket to the event staff for scanning.
If there’s a problem with the scan, ensure your screen is bright and the QR code is clear. You can also ask for assistance at the venue.
Managing and Organizing Tickets in Apple Wallet
Deleting or Archiving Old Tickets
After attending an event, you may want to delete or archive old tickets:
- Open Apple Wallet: Access your Wallet app.
- Select Ticket: Choose the ticket you want to remove.
- Tap the Info Button: Tap the “i” button in the corner.
- Remove Ticket: Select “Remove Pass” to delete the ticket.
Deleting old tickets keeps your Apple Wallet organized and clutter-free.
Managing Multiple Tickets
If you have tickets for several events, manage them easily:
- Group Tickets: Organize tickets by event date or type.
- Use Labels: Apple Wallet automatically labels tickets with event details for easy identification.
- Search Function: Use the Wallet app’s search function to find specific tickets quickly.
Effective management ensures you can quickly find and use the right ticket when needed.
Advanced Tips and Tricks for Using Apple Wallet with TickPick
Customizing Ticket Notifications
Apple Wallet can notify you about upcoming events and updates:
- Open Settings: Go to Settings on your iPhone.
- Select Notifications: Tap “Notifications.”
- Find Wallet: Scroll down and choose “Wallet.”
- Enable Notifications: Toggle on notifications for Wallet.
Customizing notifications helps you stay informed about your events and any changes.
Using Apple Wallet Offline
You can access your tickets even without an internet connection:
- Download Tickets: Ensure tickets are downloaded to Apple Wallet before heading to the event.
- Open Apple Wallet: Access the Wallet app offline to view and present your tickets.
Having tickets offline is useful in areas with poor reception or if you want to save on data.
Security and Privacy Considerations
Apple Wallet offers robust security for your tickets:
- Face ID or Touch ID: Use Face ID or Touch ID to secure your Apple Wallet.
- Encryption: Apple Wallet uses encryption to protect your ticket data.
Ensuring your Wallet app is secure protects your tickets from unauthorized access.

