How to Sell Tickets on SeatGeek: A Complete Guide
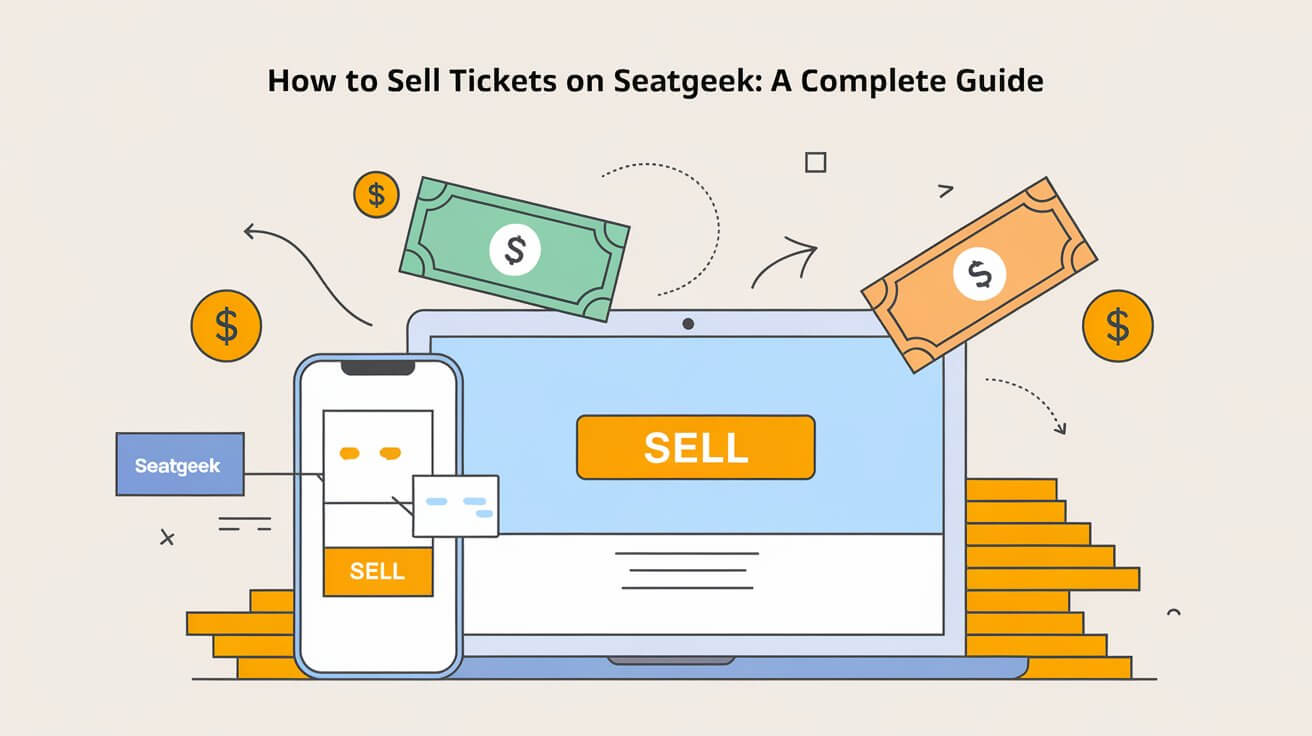
Selling tickets on SeatGeek can be a smooth and profitable experience if you follow the right steps. This guide will walk you through everything you need to know to successfully list and sell your tickets on SeatGeek. Whether you’re a first-time seller or a seasoned reseller, this comprehensive guide covers all aspects of the process.
Setting Up Your SeatGeek Seller Account
Step-by-Step Guide to Creating an Account
To start selling tickets on SeatGeek, you need to set up a seller account. Here’s how:
- Visit SeatGeek’s Website or Download the App
- Go to SeatGeek’s website or download the SeatGeek app from your device’s app store.
- Click on ‘Sign Up’ if you don’t already have an account.
- Navigate to the ‘Sell on SeatGeek’ Section
- Once logged in, find the ‘Sell on SeatGeek’ option in the menu.
- Click on it to proceed to the account setup page.
- Register with Your Email
- Enter your email address and create a password.
- SeatGeek will send you a verification email. Check your inbox and click on the verification link to complete the registration process.
- Add Payment Information
- Enter details for the bank account where you want your proceeds deposited.
- This ensures that once your tickets are sold, you receive your money without delay.
Preparing Your Tickets for Sale
Types of Tickets Eligible for Sale
SeatGeek allows you to sell various types of tickets, including:
- Electronic Tickets: PDF or mobile tickets.
- Paper Tickets: Physical tickets that need to be mailed.
- Mobile Transfer Tickets: Tickets transferred via mobile platforms like Apple Wallet or Google Pay.
Ensure your tickets are eligible for resale on SeatGeek. Most electronically transferable tickets are accepted, but it’s best to double-check.
Organizing Your Tickets
Before listing, make sure your tickets are organized. Keep the following information handy:
- Event details (date, time, venue).
- Ticket section, row, and seat numbers.
- Original purchase price.
Listing Your Tickets for Sale
Step-by-Step Instructions for Listing Tickets
- Log In to Your Account
- Access your SeatGeek account via the website or app.
- Navigate to the ‘My Tickets’ section.
- Select the Event
- Find the specific event for which you want to sell tickets.
- Click on the event to open the ticket details page.
- Click ‘Sell Tickets’
- On the event details page, click the ‘Sell Tickets’ button.
- This will start the listing process.
- Choose the Number of Tickets and Pricing
- Select how many tickets you want to list. You can sell them individually or as a group.
- Set your desired sales price. You can use SeatGeek’s pricing tools to see recommended prices based on market trends.
- Decide on the listing duration.
- Review and List Your Tickets
- Double-check all the details to ensure accuracy.
- Click ‘List Tickets’ to publish your listing on the SeatGeek marketplace.
Setting a Competitive Price
Pricing your tickets competitively is crucial for quick sales. Here are some tips:
- Check Comparable Listings: Look at what other sellers are asking for similar tickets.
- Consider Face Value: Use the original ticket price as a baseline, but adjust based on demand.
- Factor in Seat Location: Better seats command higher prices.
- Adjust for Peak Event Times: Prices can be higher for events on weekends or during popular times.
- Use SeatGeek’s Pricing Tools: Leverage tools like Deal Score to optimize your listing price.
Managing Your Listings
Once your tickets are listed, you need to manage your listings actively:
- Edit Details: You can change the price or ticket quantity if needed.
- Delist Tickets: If you decide to use the tickets or sell them elsewhere, you can remove the listing.
- Receive Notifications: Opt-in for email or text alerts for sales or status changes.
Getting Paid After Your Sale
SeatGeek makes getting paid straightforward:
- Payout Initiation: Once your tickets are sold, SeatGeek deducts a 10% seller fee and starts the ticket transfer process.
- Payment to Bank Account: Within 48 hours of the event’s completion, your profits will be deposited into your linked bank account.
- Funds Availability: It typically takes up to 5 business days for the funds to appear in your account.
Tips for Successful Selling
Optimize Your Listings
To increase your chances of a quick sale:
- High-Quality Photos: If you’re selling physical tickets, include clear photos.
- Detailed Descriptions: Provide comprehensive details about the tickets.
- Prompt Responses: Answer any buyer inquiries swiftly.
Timing Your Listings
List your tickets as early as possible. Early listings attract more buyers, and as the event date approaches, urgency increases, often leading to faster sales.
Understanding Fees and Policies
Be aware of SeatGeek’s seller policies:
- 10% Seller Fee: SeatGeek deducts this fee from your sale price.
- Final Sales: All sales are final once a buyer completes a purchase.
- Customer Service: Provide excellent service to maintain a good reputation.
Frequently Asked Questions
How do I know if my tickets are eligible for sale?
Check if your tickets are electronically transferable. Most e-tickets and mobile tickets are eligible, but confirm with SeatGeek if you’re unsure.
Can I edit my listing after it’s published?
Yes, you can modify your listing details, including the price and ticket quantity, any time before a sale is made.
What if my tickets don’t sell?
If your tickets don’t sell, you can try lowering the price or adjusting the listing to make it more attractive. If the event date is approaching and tickets remain unsold, consider alternative platforms or lowering the price further.
How do I handle customer inquiries?
Respond to buyer questions promptly and professionally. Providing clear and accurate information can help facilitate a sale.
Advanced Selling Strategies
Leveraging Market Insights
Use SeatGeek’s market insights to adjust your pricing strategy. Monitoring how similar tickets are performing can give you an edge in setting competitive prices.
Utilizing Social Media
Promote your listings on social media platforms. Share links to your SeatGeek listings on Twitter, Facebook, and Instagram to reach a broader audience.
Offering Group Discounts
If you have multiple tickets, consider offering a discount for buyers who purchase in bulk. This can be an effective way to sell tickets faster.
Regularly Monitor Your Listings
Keep an eye on how your listings are performing. Make necessary adjustments based on market demand and buyer interest. Being proactive can significantly increase your chances of a successful sale.
Use Promotions and Deals
Occasionally, SeatGeek offers promotional tools that you can use to boost your listings. Take advantage of these opportunities to increase visibility and attract more buyers.
Conclusion
Selling tickets on SeatGeek is a straightforward process if you follow these steps. From setting up your account to managing your listings and getting paid, this guide covers all the essentials. By optimizing your listings and staying proactive, you can turn your unused tickets into cash efficiently. Happy selling!
