How to Transfer Tickets on SeatGeek? A Step-by-Step Guide
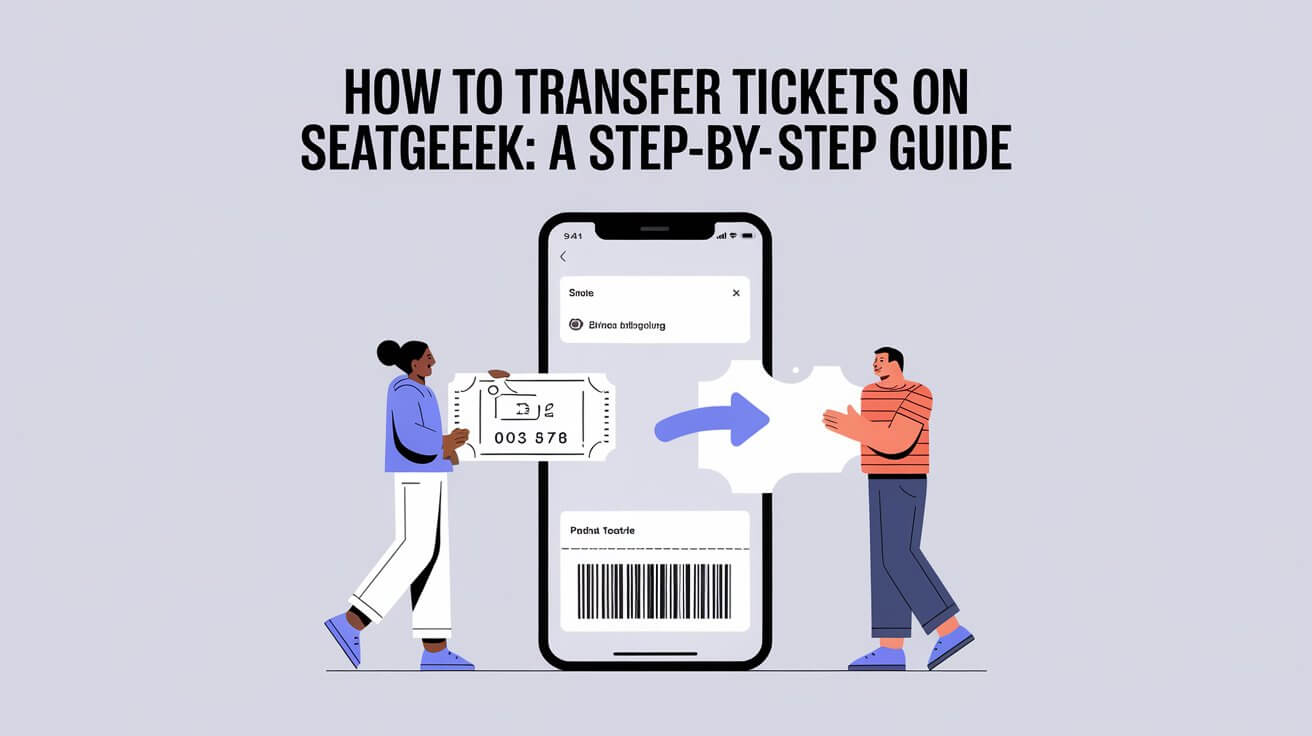
Transferring tickets on SeatGeek is a convenient and straightforward process, making it easy for users to share tickets with friends or family. This guide will provide a detailed walkthrough of the steps involved, ensuring a seamless experience. We’ll cover everything from the initial steps to troubleshooting common issues and explore additional features and tips for a smooth ticket transfer process.
Steps to Transfer Tickets on SeatGeek
Log into Your Account
First, you’ll need to log into your SeatGeek account. You can do this via the SeatGeek app on your mobile device or through the SeatGeek website on your computer. Ensure that you use the correct login credentials associated with your ticket purchases.
Access Your Tickets
Once logged in, navigate to the “Tickets” section. This section can usually be found in the main menu of the app or website. Here, you’ll see a list of all your upcoming events and the tickets you’ve purchased.
Select the Event
Find the event for which you want to transfer tickets. Click or tap on the event to view the details of your tickets. This will include the date, time, venue, and seat information.
Initiate Transfer
To start the transfer process, click or tap the “Transfer” button next to the tickets you wish to send. This button is typically located next to the ticket details.
Enter Recipient Details
You will then be prompted to enter the recipient’s information. You can transfer tickets by entering the recipient’s email address or phone number. Make sure you enter the correct details to ensure the recipient receives the transfer notification.
Send the Tickets
After entering the recipient’s information, confirm and send the tickets. The recipient will receive a notification via email or text message, prompting them to accept the transfer.
Accepting Transferred Tickets on SeatGeek
When someone transfers tickets to you, accepting them is a simple process:
- Notification: You will receive an email or text notification indicating that tickets have been transferred to you.
- Log in to SeatGeek: If you already have a SeatGeek account, log in using the email address to which the tickets were sent.
- Accept the Tickets: Navigate to the “Tickets” section of your account and accept the tickets. If you don’t have an account, you’ll need to create one using the email address that received the transfer.
Types of Transferable Tickets
SeatGeek supports the transfer of various types of tickets. Here are the common types you can transfer:
- Mobile Tickets: These are digital tickets stored in your SeatGeek account and can be scanned from your mobile device at the venue.
- E-Tickets: These are electronic tickets that can be printed at home or scanned from your mobile device.
- Flash Seats: A digital ticketing system that uses your mobile device or a registered card for entry.
- AXS Mobile ID Tickets: Digital tickets that are stored within the AXS app but can be transferred through SeatGeek.
Non-Transferable Tickets
While SeatGeek supports many types of tickets, some tickets, such as paper tickets or PDFs, typically cannot be transferred through the platform. Always check the type of ticket before attempting a transfer.
Troubleshooting Common Issues
Even though transferring tickets on SeatGeek is designed to be hassle-free, you might encounter some common issues. Here’s how to troubleshoot them:
Recipient Did Not Receive Notification
If the recipient doesn’t receive the transfer notification, ensure that you entered the correct email address or phone number. Double-check for typos or errors. If everything seems correct, try resending the transfer. The recipient should also check their spam or junk folder if they’re expecting an email.
Transfer Cancellation
If the recipient hasn’t accepted the transfer yet, you can cancel it and resend the tickets if necessary. To cancel a transfer, go to the “Tickets” section, find the event, and look for the option to cancel the transfer. After canceling, you can initiate the transfer process again.
Technical Issues
If you experience technical issues, such as the app freezing or not loading properly, try the following steps:
- Update the App: Ensure you have the latest version of the SeatGeek app installed.
- Restart Your Device: Sometimes, restarting your device can resolve minor technical glitches.
- Contact Support: If the issue persists, contact SeatGeek support for assistance.
Selling Tickets on SeatGeek
In addition to transferring tickets, you can also sell them on SeatGeek. Here’s how:
Listing Tickets for Sale
- Log into Your Account: Open the SeatGeek app or website and log in.
- Navigate to the Sell Tab: Go to the “Sell” tab in your account.
- Select the Event: Choose the event for which you want to sell tickets.
- Set Your Price: Enter the price at which you want to sell your tickets.
- List the Tickets: Confirm and list your tickets for sale. Once listed, your tickets will be available for purchase by other users.
Completing the Sale
When someone purchases your tickets, you will receive a notification. You will need to transfer the tickets to the buyer using the same method you received them. Payments are processed via PayPal, direct deposit, or check, depending on your preferences.
Event and Venue Restrictions
Some events and venues may have specific restrictions on ticket transfers. Always check the event or venue policies before attempting to transfer tickets. Restrictions may include limitations on the number of times a ticket can be transferred or deadlines for when transfers can be made.
Additional Features and Tips
Deal Score
SeatGeek’s Deal Score is a unique feature that helps you evaluate the value of tickets. Deal Score takes into account factors such as seat location, ticket price, and historical data to give you an idea of how good a deal you’re getting. Use this feature to make informed decisions when buying or transferring tickets.
Rally and Swaps
SeatGeek offers additional features like Rally and Swaps to enhance the ticketing experience. Rally provides personalized event recommendations and updates, while Swaps allow for flexible ticket options, making it easier to manage your tickets.
Ensuring a Smooth Transfer Process
To ensure a smooth ticket transfer process, follow these tips:
- Double-Check Details: Before sending tickets, double-check the recipient’s information to avoid errors.
- Communicate with the Recipient: Let the recipient know to expect the transfer notification and check their email or phone.
- Monitor Transfer Status: Keep track of the transfer status within your SeatGeek account. If the recipient hasn’t accepted the transfer, you can resend or cancel it as needed.
- Stay Updated: Make sure your SeatGeek app is updated to the latest version to avoid technical issues.
Conclusion
Transferring tickets on SeatGeek is designed to be easy and efficient, providing a seamless experience for both the sender and the recipient. By following the steps outlined in this guide, you can confidently transfer tickets and troubleshoot any issues that arise. Whether you’re sharing tickets with friends, selling them, or managing your event attendance, SeatGeek offers the tools and features to make the process smooth and enjoyable. For more details, visit the SeatGeek support page or the official SeatGeek website.

